How to Turn on Linux on School Chromebook
There are a few different ways that you can turn on Linux on your school Chromebook. The first way is to use the Crosh shell. To do this, press CTRL+ALT+T on your Chromebook keyboard to open the Crosh shell.
Then type in the command “shell” and hit enter. This will give you access to the Linux terminal. The second way is to use a Chrome extension such as Crouton.
With Crouton, you can install Ubuntu or another Linux distribution alongside Chrome OS. This allows you to switch between the two operating systems easily. Finally, some newer Chromebooks have support for running containers with tools like Lxc or Docker.
- This is not possible
How to Install Linux on School Chromebook 2022
Chromebooks are becoming increasingly popular in schools. Many school districts have adopted them as their primary laptops for students. As a result, more and more students are using Chromebooks at home as well.
If you’re a parent of a student who uses a Chromebook, you may be wondering if it’s possible to install Linux on the device. While it is possible to do this, it’s important to note that doing so will void your warranty. Additionally, there is always the possibility that something could go wrong during the installation process and render your Chromebook unusable.
With that said, let’s take a look at how to install Linux on a school Chromebook 2022.
The first thing you’ll need to do is put your Chromebook into Developer Mode. This can be done by holding down the Esc and Refresh keys simultaneously while pressing the power button.
Once your device has been restarted, press Ctrl+D when prompted to enter Developer Mode. After your Chromebook has rebooted again, press Ctrl+L to boot from SeaBIOS instead of ChromeOS. From here, you’ll be able to select “Boot from USB.”
Next, insert a USB drive into your computer that contains an ISO file of the Linux distribution you want to install (we recommend Ubuntu). Once the image has been loaded onto your drive, reboot your Chromebook and select “Boot from USB” once again. At this point, you should see a screen that says “Try Ubuntu without installing.”
Go ahead and select this option – we’ll come back to actually installing Ubuntu momentarily.
Once you’ve booted into Ubuntu from your USB drive, open up a terminal window and run the following command: sudo chromeos-install –dst /dev/sda . This will start the process of installing Ubuntu onto your internal storage drive (replacing ChromeOS).
The installation process will take some time – go grab a cup of coffee or take a break while it completes! Depending on how fast your internet connection is, downloading updates during the installation process may add additional time as well.
OnceUbuntuhas finished installing onyourChromebook ,restartthe deviceandpressCtrl+Dwhenpromptedtoentera normalmodeof operation(DeveloperModeis no longer needed). You should now seeGrub2bootloaderwithUbuntuas anoption . Selectitandyou’llbebroughttoUbuntusplashscreen .
How to Turn on Linux on School Chromebook Hp
If your school uses HP Chromebooks, you can easily turn on Linux by following these steps:
1. Open the Settings app and click on the “About Chrome OS” section.
2. Click the “Detailed build information” link.
3. In the “Channel” drop-down menu, select “Canary.”
4. Restart your Chromebook when prompted. After it reboots, open the Settings app again and navigate to the same “About Chrome OS” section.
You should now see a new option that says “Use Developer Features.” Select this option and then choose “Enable Linux (Beta).” 5 A popup window will appear asking if you want to install Crouton. Click “Yes, Install.” 6 Crouton will now download and install onto your Chromebook’s internal storage.
This process may take a few minutes. 7 Once it’s finished, reboot your Chromebook one last time and select the new “ChromeOS” tab that appears next to your normal Chrome tabs at the bottom of the screen 8 . From here, you can launch any of the installed Linux apps by clicking on them in the left sidebar 9 .
That’s all there is to it!
Install Linux on Chromebook Without Developer Mode
If you want to install Linux on your Chromebook without Developer Mode, there are a few things you need to do. First, you need to enable the Legacy Boot Mode in your BIOS. This can be done by opening your BIOS settings and finding the option for “Legacy Boot.”
Once you’ve enabled this, save your changes and exit the BIOS.
Next, you need to create a bootable USB drive with a Linux distribution of your choice. We recommend using Ubuntu for this purpose.
Once you’ve downloaded the Ubuntu ISO file, use Rufus to create a bootable USB drive. Make sure that you select “MBR” as the partition scheme when doing this.
Once you’ve created your bootable USB drive, insert it into your Chromebook and turn it on.
You should see a screen that says “Developer Mode: On.” Press Ctrl+D at this screen to enter Developer Mode. Your Chromebook will reboot and take longer than usual to start up; this is normal.
Once it’s finished rebooting, press Ctrl+L at the white startup screen that appears next. This will take you into Legacy Boot Mode where you can select your USB drive from the menu and boot into Ubuntu!
Linux (Beta Download)
Linux is a computer operating system that is free and open source. It was created by Linus Torvalds in 1991. Linux is typically packaged in a Linux distribution.
A Linux distribution is a collection of software that includes the Linux kernel, as well as other software needed to run a complete system. Commonly used distributions include Debian, Fedora, and Ubuntu.
Linux can be installed on a wide variety of computer hardware, from personal computers to servers to mainframes.
It can also be embedded into devices such as routers and printers. Many mobile devices, such as smartphones and tablets, use variants of the Linux kernel.
Linux is popular for many reasons, including its low cost, reliability, flexibility, and security features.
Additionally, because it is open source software, anyone can contribute to the development of Linux. This makes it possible for new features and improvements to be made quickly and easily.
Linux Chromebook Download
Chromebooks are laptops that come with Google’s Chrome OS operating system. They’re designed to be simple, lightweight, and easy-to-use. Chromebooks are a great option for people who want an affordable, portable laptop that can handle basic tasks like browsing the web, checking email, and working on documents.
One of the best things about Chromebooks is that they’re very easy to set up and use. When you first turn on a Chromebook, you’ll be prompted to sign in with your Google account. Once you’re signed in, all of your settings and data will be synced across devices so you can pick up right where you left off.
If you’re interested in using a Chromebook but don’t want to buy one outright, you can always try one out by downloading the Linux version of ChromeOS. This will give you a chance to test out the operating system and see if it’s a good fit for you before making any commitments.
Ready to give ChromeOS a try?
Here’s how to get started:
1) Go to https://chromium.org/getting-involved/download-chromium and click “Download now!” under Chromium OS* If prompted, select “Save As…” and choose somewhere convenient to save the file (like your desktop).
2) Once the download is finished, unzip the file by double-clicking it.
This will create a new folder called “chromeos_image”.
3) In order to write the image file onto your USB drive** , we’ll need an application called “Etcher”. Head over to https://etcher.io/ and download Etcher for your operating system (Windows/macOS/Linux).
4) Open Etcher and select the “chromeos_image” folder that we unzipped earlier. Then select your USB drive from the list of drives connected to your computer*** . Finally, click “Flash!” to begin writing the image file onto your USB drive**** .
5) Once Etcher has finished writing the image onto your USB drive*****, eject it from your computer safely then insert it into the Chromebook that you wantto test out ChromeOS on***** . Turn onthe Chromebookand pressany keywhenprompted ******** .
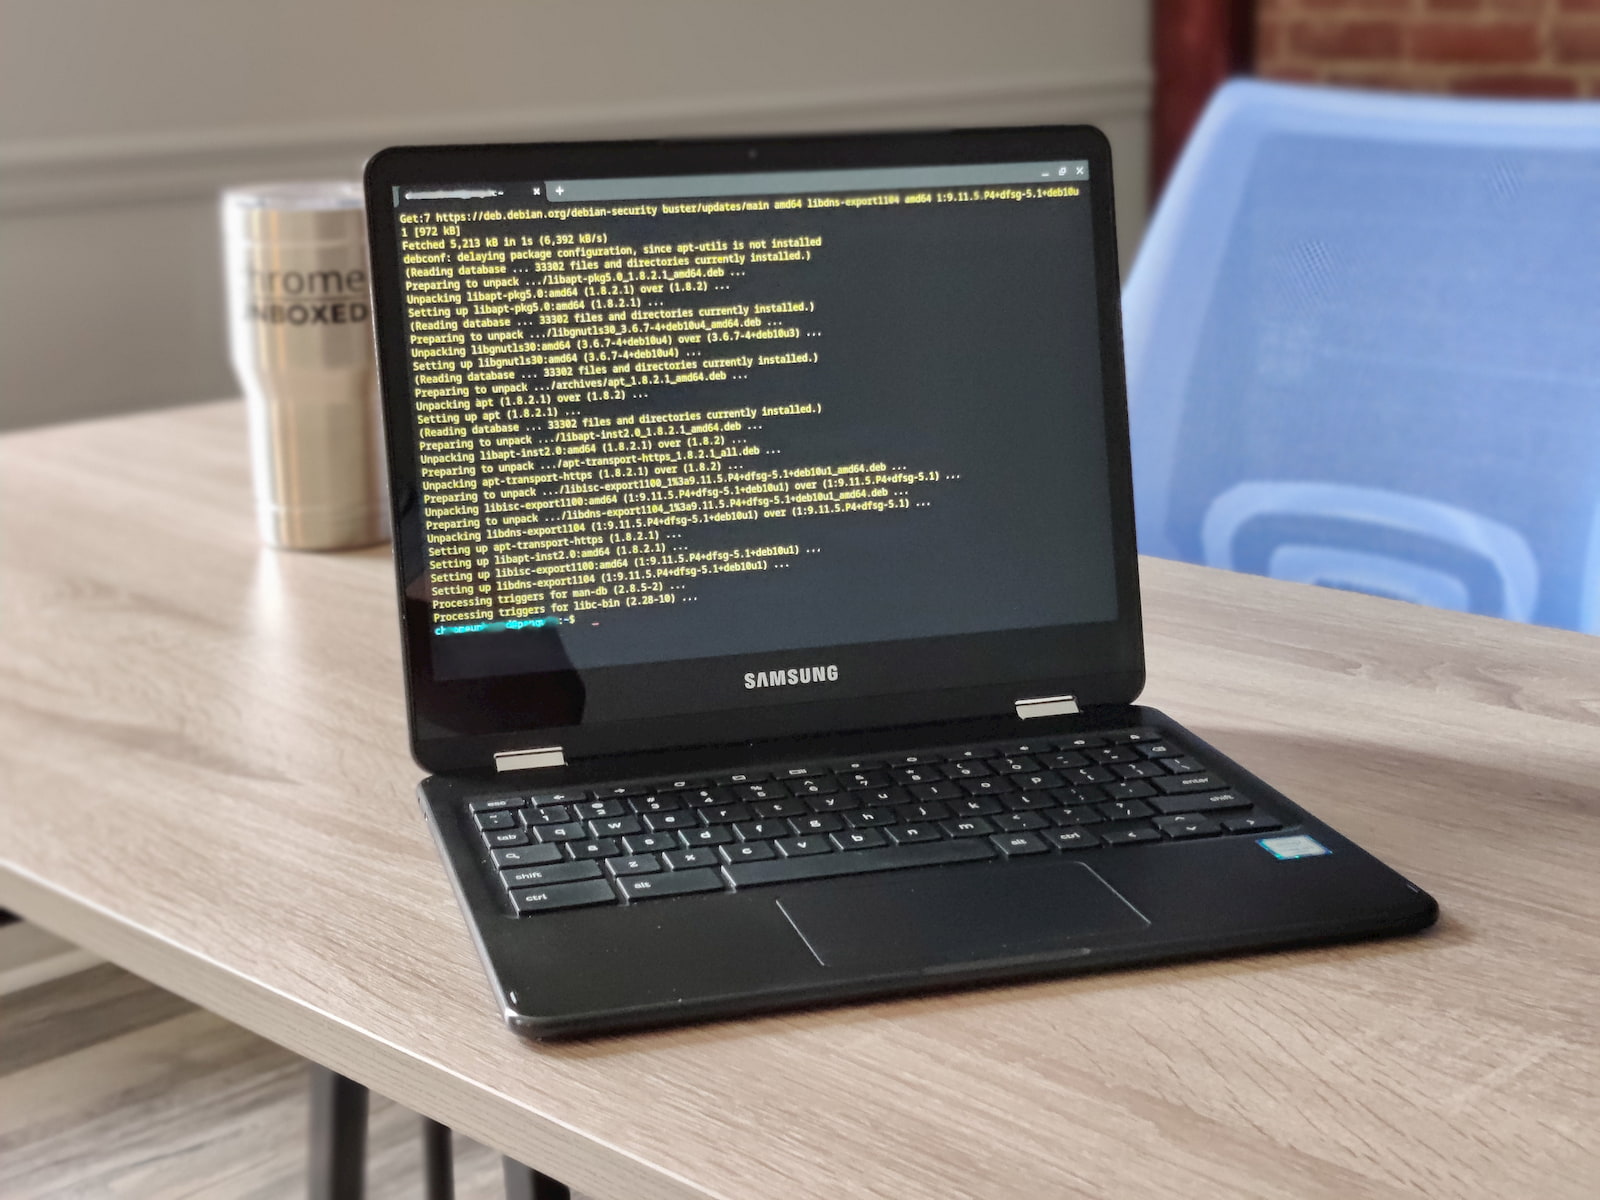
Credit: chromeunboxed.com
How Do I Turn off School Restrictions on My Chromebook?
Assuming you are referring to school-imposed restrictions on a Chromebook that is owned by the student:
There are a few different ways that schools can set restrictions on Chromebooks – through the Chrome management console, by setting up a network with an HTTP proxy, or by using a third-party service. If you’re not sure how your school has set up the restrictions, you can ask your IT administrator.
To turn off school restrictions on a Chromebook, you’ll need to sign in with your Google account. Once signed in, click on the three dots in the top right corner of the screen and select “Settings.” Under “Advanced,” scroll down to find the “Reset settings” section.
Click “Restore settings to their original defaults” and confirm by clicking “Reset Settings.” This will remove any school-imposed restrictions from your device.
How Do I Get Linux on My School Chromebook 2022?
Assuming you are referring to a Chromebook that comes with Chrome OS pre-installed and you would like to install Linux on it:
Most newer Chromebooks come with support for running Linux apps built-in. You can check if your Chromebook supports this by going to chrome://settings/crostini in the Chrome browser.
If you see an option to “Enable Linux (Beta)” here, then your device does support running Linux apps.
If your Chromebook does support running Linux apps, go ahead and click the “Enable Linux (Beta)” button here. This will take a minute or two to set up – once it’s done, you’ll see a new “Terminal” app appear in your app launcher.
Go ahead and launch this Terminal app.
You should now be looking at a command line interface for a virtual machine that is running Debian 10 Buster. From here, you can install anyLinux software that you need using apt.
For example, to install the Gnome desktop environment:
How Do I Enable Linux on My Chromebook With Crosh?
If you’re a Chrome user, you’re probably using Chrome OS. And if you’re using Chrome OS, there’s a good chance you’re using a Chromebook. But did you know that there’s a way to enable Linux on your Chromebook with Crosh?
Here’s how:
1. Open Crosh by pressing Ctrl+Alt+T on your keyboard. This will open the Crosh shell.
2. Type “shell” into the Crosh prompt and hit Enter. This will give you access to the BASH shell.
3. Type “sudo su -” and hit Enter.
This will change your user to root so that you can change system-level settings.
4a. To enable Developer Mode, type “chromeos-setdevmode –enable” and hit Enter.
You’ll see a warning message appear; press Ctrl+D to continue booting into Developer Mode (which will erase your local data). Once Developer Mode is enabled, your Chromebook will reboot automatically after about 30 seconds or so.
4b .
If you don’t want to enable Developer Mode, type “chromeos-setdevmode –force” and hit Enter instead of Step 4a . However, do note that this method is unsupported and may void your warranty! Use at your own risk!
5 . After rebooting, open Crosh again by pressing Ctrl+Alt+T on your keyboard. 6 . Type “shell” into the Crosh prompt and hit Enter once more time . 7 . In order for Linux apps to work , we need to install some dependencies first by running this command : “sudo apt update && sudo apt install -y python3 python3-pip libgtk- 3 -0 libnotify4 xdg -utils”. 8 We also need to grab Google ‘ s linux_repo script so that we can add support for running Linux apps: “wget https://dl..googleusercontent…com/linux/direct/google-chrome-unstable_current_amd64..deb”. 9 Run the script with this command: “. / google – chrome – unstable _ current_amd64 … deb –noexec — target ./tmp”. 10 Now we should be able extract all of the contents from the DEB file like so: “dpkg -x ./tmp/google-chrome*.deb ./tmp/extracted”.
Why Won T My Chromebook Let Me Turn on Linux?
If you’re a Chromebook user, you may be wondering why your device won’t let you turn on Linux. There are a few possible reasons for this:
1. Your Chromebook may not be compatible with Linux.
While most newer Chromebooks can run Linux, some older models are not compatible with the operating system. If your device is not compatible, there’s no way to enable Linux support.
2. You may not have enabled developer mode on your Chromebook.
In order to install Linux, you must first put your Chromebook into developer mode. This can be done by opening Settings and navigating to the “About Chrome OS” section. At the bottom of this page, there will be a switch labeled “Developer Mode.”
Flip this switch and follow the prompts to restart your device in developer mode.
3. Once in developer mode, you still need to install Crouton to get Linux up and running on your Chromebook. Crouton is a set of scripts that allows you to install Ubuntu (or another Debian-basedLinux distribution) alongside Chrome OS on your Chromebook’s internal storage space.
It’s important to note that Crouton will wipe any local data stored on your device, so make sure to back up anything important before proceeding!
4. Finally, once Crouton is installed, you can launch it by entering the following command into the ChromeOS shell: sudo startxfce4 .
How To USE A LINUX TERMINAL On Your SCHOOL CHROMEBOOK!
Conclusion
This blog post provides clear and concise instructions on how to turn on Linux on a school Chromebook. By following these steps, anyone can easily enable this feature on their device. This is a great way to use a Chromebook for more than just schoolwork, and opens up a whole new world of possibilities for users.


