How to Connect Gateway Laptop to Wifi
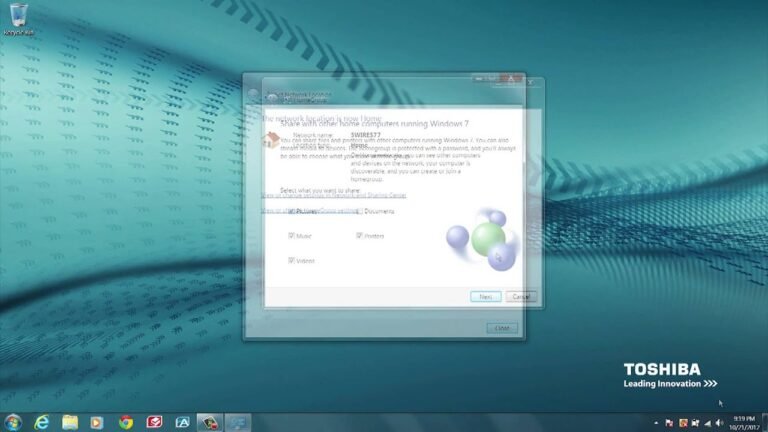
To connect a Gateway laptop to WiFi, first ensure that the WiFi network is broadcasting and within range. Then, open the Network and Sharing Center from the Control Panel and click on “Set up a new connection or network.” Choose “Manually connect to a wireless network” and enter in the SSID of the wireless network.
Next, select the security type used by the network and enter in the password, if required. Finally, click “Connect” to complete the connection.
- Look for the WiFi icon in the bottom right corner of your screen
- It should look like a series of curved lines
- If the WiFi icon is not visible, open the Control Panel and click on Network and Sharing Center
- Click Change adapter settings on the left side of the window
- Right-click on your Wireless Network Connection and select Enable from the pop-up menu, if it is disabled
- Left-click on the wireless network connection to highlight it, then click Properties near the bottom of the window
- 5 In properties window, select Internet Protocol Version 4(TCP/IPv4) from list and click Properties button below 6 Checkmark Obtain an IP address automatically & Obtain DNS server address automatically options 7 Click OK button 8 Close all opened windows
Gateway Laptop Not Connecting to Wifi
If your Gateway laptop is not connecting to wifi, there are a few things you can do to troubleshoot the issue. First, check to make sure that the wireless connection is enabled on your laptop. To do this, go to the Control Panel and click on Network and Internet.
Under the “Network and Sharing Center” heading, click on Change adapter settings. Right-click on your Wireless Network Connection and select Enable from the drop-down menu. If this does not solve the problem, try restarting both your modem and router.
You can also try resetting your internet explorer settings by going to Tools > Internet Options > Advanced > Reset. Finally, if none of these solutions work, you may need to contact your ISP for further assistance.
How to Turn on Wifi on Gateway Laptop Windows 10
If you’re using a Gateway laptop with Windows 10, there are two different ways that you can turn on the WiFi. The first way is to use the “Action Center” which is located in the bottom right corner of your screen. To do this, simply click on the WiFi icon and then select “Connect.”
The second way to turn on WiFi on your Gateway laptop is through the “Network and Sharing Center.” To access this, go to Start > Settings > Network & Internet > Wi-Fi. From here, you can enable the WiFi connection by clicking on the “Change adapter options” link.
Once you have enabled the connection, you should be able to see available networks that you can connect to.
How to Turn on Wifi on Gateway Laptop Windows 7
If you’re having trouble connecting to the internet on your Gateway laptop, there are a few things you can try. First, make sure that your wireless router is powered on and that it’s properly connected to your modem. Then, open the Control Panel and click on “Network and Sharing Center.”
Click on the “Set up a new connection or network” link and follow the prompts to set up a new wireless connection. Finally, restart your computer and see if you can connect to the internet. If you still can’t connect, contact your ISP for help.
How to Turn on Wifi on Gateway Laptop Windows 11
If you’re using a Gateway laptop with Windows 11, there’s a good chance that you’ll want to use WiFi at some point. Fortunately, it’s easy to turn on WiFi on your Gateway laptop. Here’s how:
1. Click the Start button in the bottom left corner of your screen.
2. Type “Network and Sharing Center” into the search box that appears.
3. Click on “Network and Sharing Center” when it appears in the search results.
4. In the left sidebar, click on “Change adapter settings.”
5. Right-click on your WiFi adapter and select “Enable.”
6. Your WiFi should now be turned on and working properly!
Gateway Laptop Not Showing Wifi Networks
If you’re using a Gateway laptop and you’re not seeing any wifi networks, there are a few things you can try to troubleshoot the issue.
First, make sure that the wireless switch on your laptop is turned on. This switch is usually located on the side or front of the laptop.
If it’s switched off, you won’t be able to see any wifi networks.
Next, check to see if your computer’s wifi card is enabled in the BIOS. To do this, restart your computer and press F2 when prompted to enter the BIOS setup utility.
Once in the BIOS utility, look for an option that says something like “Wireless LAN” or “Wifi.” If this option is disabled, enable it and save your changes before exiting the BIOS.
If you’re still not seeing any wifi networks after trying these two things, there may be an issue with your computer’s drivers.
You can download and install the latest drivers for your Gateway laptop from the manufacturer’s website.

Credit: www.youtube.com
How Do I Turn on Wi-Fi on My Gateway Laptop?
Assuming you would like a step-by-step guide on how to turn on the WiFi on a Gateway laptop:
1. Check if your Wireless Adapter is Enabled
2. Use the Windows Mobility Center to Turn on WiFi Radio
3. Use Device Manager to Enable the WiFi Adapter
4. Update or Reinstall the Driver for your Wireless Adapter
Assuming that your computer’s wireless adapter is turned off, here are four ways that you can turn it back on and connect to a Wi-Fi network.
All of these methods are designed for Windows 10, but they should work fine in previous versions of Windows too. You might need administrative privileges to follow some of these steps.
1) Check If Your Wireless Adapter Is Enabled:
Before you do anything else, it’s worth checking whether or not your wireless adapter is actually enabled. To do this, open up the Control Panel and then head to Network and Sharing Center > Change Adapter Settings. In the list of adapters that appears, find the one labeled “Wireless.”
Right-click it and select Properties from the pop-up menu. In the Properties window, make sure there isn’t a check mark next to “Use this device (enable)” under both properties: “Device status” and “Driver.” If there is no check mark next to either property, then your adapter is disabled and needs to be enabled before you’ll be able to use Wi-Fi again.
Exit out of this window once you’ve checked both properties..
2) Use The Windows Mobility Center To Turn On Wifi Radio:
The easiest way to enable or disable Wi-Fi is by using the Windows Mobility Center tool built into every version of Windows since Vista. To launch it, press Start > type “mobility” into Search > click Mobile PC Settings > click Additional power settings > expand Wireless Adapter Settings section > expand Power Saving Mode dropdown menu > select Maximum Performance option for Plugged in and Battery modes..
3) Use Device Manager To Enable The Wifi Adapter:
If neither method above works for you, then try opening Device Manager from Start > type “device manager” into Search box > hit Enter key> Expand Network Adapters entry in Device Manager’s left pane> locate your wireless card in right pane> double-click it> click Enable device button in its Properties window (if available).
How Do I Connect My Gateway to Wi-Fi?
If you’re trying to connect your gateway to Wi-Fi, there are a few things you’ll need to do. First, make sure that your gateway is in range of your router and that there are no obstructions between them. Once you’ve done that, check to see if your gateway’s Wi-Fi is turned on.
If it isn’t, turn it on and then try connecting again.
If your gateway still won’t connect to Wi-Fi, the next step is to input your router’s SSID and password into the gateway’s settings. Once you’ve done that, save the changes and try reconnecting again.
If you’re still having trouble, restart both your router and gateway and then try connecting once more.
Why Won’T My Gateway Connect to Wi-Fi?
If your gateway won’t connect to Wi-Fi, there are a few things you can try:
1. Check that the gateway is powered on and that all the cables are securely connected.
2. If you’re using a wireless connection, check that the antenna is positioned correctly and that there’s no interference from other devices or objects.
3. Verify that the SSID (network name) and password for your Wi-Fi network are correct.
4. If you’re still having trouble, try resetting the gateway to factory defaults. You can usually do this by pressing and holding a button on the back of the gateway for 30 seconds or more.
How Do I Get My Laptop to Connect to Wi-Fi?
Assuming you would like tips on how to connect your laptop to Wi-Fi:
1. Check that your Wi-Fi is turned on. This may seem like an obvious first step, but it’s worth checking since it can be easy to accidentally disable your Wi-Fi without realizing it.
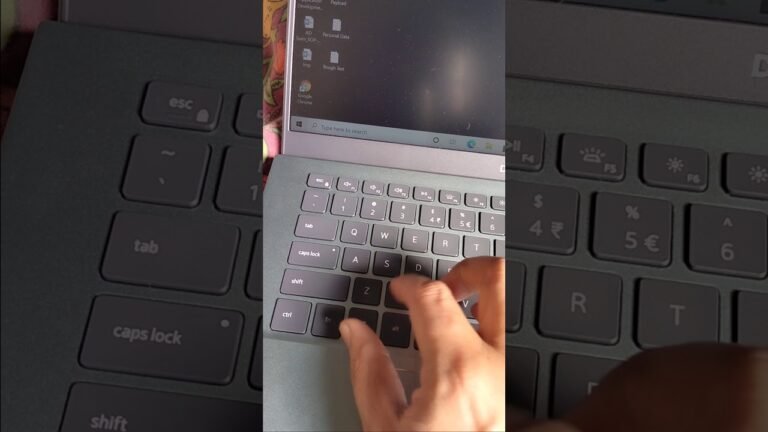
You can usually find a physical switch on the side or front of your laptop that controls the Wi-Fi, or there may be a key combination that turns it on and off. For example, on many Dell laptops, you can toggle the Wi-Fi by pressing Fn + F2.
2. Once you’ve verified that your Wi-Fi is enabled, open the list of available networks and look for yours.
The exact location of this will vary depending on what type of laptop you have, but in general, you can access it by clicking on the network icon in your taskbar (usually located in the lower right corner of your screen). If you don’t see any networks listed, make sure you’re in range of your router; if you still don’t see anything, restart your computer and try again.
3. When you select your network from the list of available networks, enter the password if prompted and click “Connect.”
Depending on how your network is configured, this may automatically connect you every time you’re in range; if not, repeat these steps whenever you want to connect to Wi-Fi.
How to Fix Wifi for Windows 8 Gateway Laptop
Can I Use the Same Docking Station to Connect My Gateway Laptop to Wifi?
Yes, you can use the same docking station for connecting two laptops to one docking station. This allows you to easily switch between laptops while enjoying a seamless connection to your WiFi network. It’s a convenient solution for those who frequently use multiple laptops or share a docking station with others.
Conclusion
In conclusion, connecting your Gateway laptop to wifi is a simple process that can be completed in just a few steps. All you need is an internet connection and a wireless router. Follow the instructions above and you’ll be online in no time.


